


I’m Jacob, a 15-year-old computer science enthusiast who has just reached the end of a two-week internship at Dataiku, where I was tasked with creating a program that can recognize the faces of different people in the office. Here’s how I attempted to turn a Raspberry Pi into the new robo-receptionist for our London office.
Facial recognition is not easy. But a machine learning algorithm, specifically a retrained Google Inception V3 model, can make relatively easy work of such a task. And using Dataiku makes it even easier, as the model can be retrained to classify images of faces. But even before I could do all of this, I had to set up the hardware.
The Hardware
For this project, we used a Raspberry Pi 4 with a camera, PIR motion sensor, and LCD screen to make the part of the project that would be placed in the office. Installation of the camera and LCD was quick, easy, and relatively painless.
However, the PIR was another story. The initial problem that we faced was that the sensor would constantly detect motion, even when placed under a bowl that we found in the kitchen and left alone for five minutes. Either we were doing something wrong, or the office was haunted by ghosts of the data scientists of old. So we set off searching for a solution.

After hours of uninstalling and reinstalling packages and changing code and wires around, we found the small dial on the side of the sensor that controls the sensitivity. It turns out that the sensor was turned up so high that it was probably sensing the vibrations of atoms in the air (maybe not quite that high). So with this dial turned down to a reasonable level, we continued with the project.
At the entrance to the office, there is a bus where meetings can be held. As this is positioned directly in front of the elevators where most people enter the office, this was naturally the best place to put the electronics.
But we couldn’t just tape the circuit boards straight to the bus (although that would have been much faster). Being a technology company, we used a 3D printer to print cases for all of the components. This allowed them to be easily mounted to the bus using double-sided tape.

The Data Science Part
Now for the fun part - the data science. With the Pi mounted to the wall along with all of the modules that it would need, it was time to start gathering data. We set up an AWS S3 bucket to allow us to dump images into the bucket for later labelling.
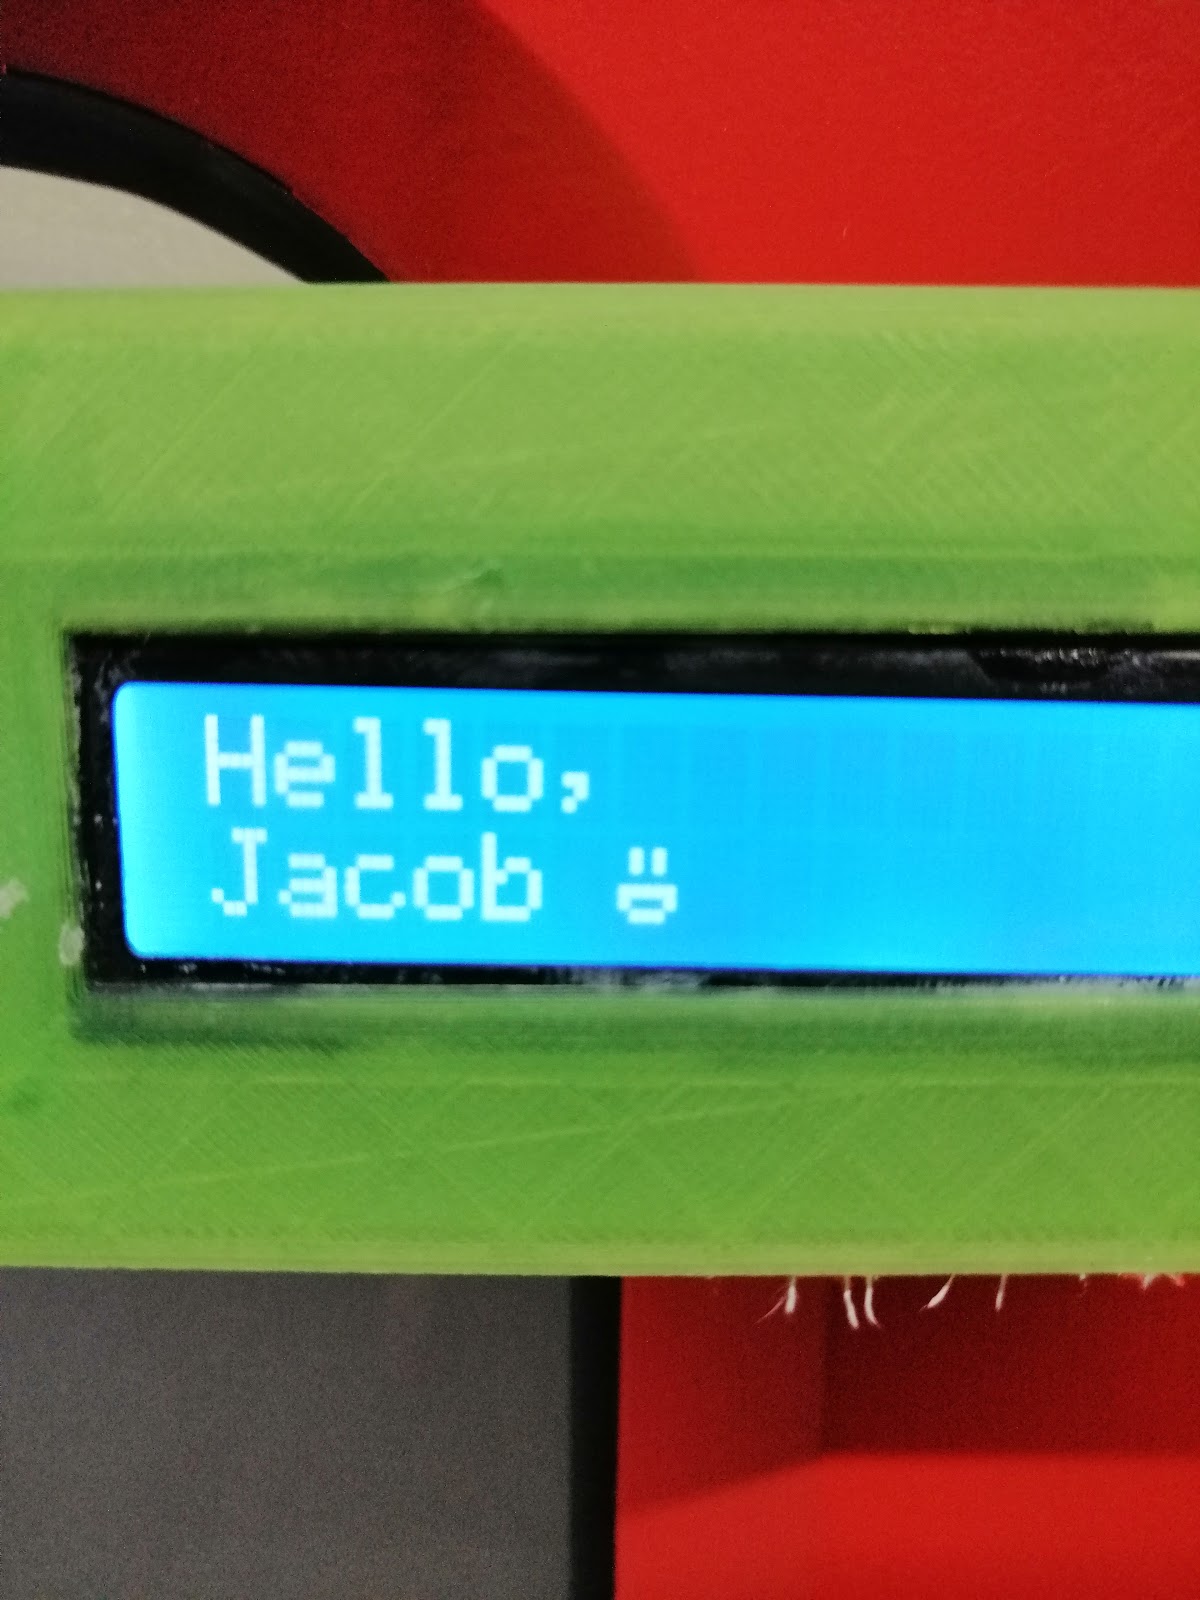
We set up a Python script on the Pi that would take a photo every time it detects motion, and then extract every face from the image and send them to the bucket. This, however, would not be complete without a personality for the robot. I created some custom characters for the LCD display to humanize it, as anyone would.
Then, with this program complete, I deployed it on the Pi and set it to work. Within a few days, it had gathered over 600 images. Sadly, about half of them were coat-hangers and reflections in the shiny lift doors. But at least we had around 300 images of faces that we could use for the model training.
It turns out that some people barely leave their desks and were hardly ever seen by our poor, lonely robot. Some people (like myself), on the other hand, walked past the sensor many, many, many times and racked up tens - and in my case hundreds - of images on the bucket.
With these images collected, it was time for the less glamorous part - labelling the images. Sadly, there is no other way to prepare the dataset for training than to sit and manually label each of the 600 images. Luckily, I had Dataiku and some helpful colleagues.
Using Dataiku, I created a web interface that would allow me to easily add labels to all of the photos. Once this was complete, we set to work collectively labelling each and every image that the robot had captured. Luckily, I programed some quick keyboard shortcuts to speed the process up.
Bonus: It turns out that labelling images of people is a very fast way to learn peoples’ names!
Once all the images were labeled, we could finally get around to training the machine to recognize the different members of the office. Using a Dataiku plugin, we fed the images and labels into the model and left it to train.
When we came back to the model, it had achieved an estimated accuracy of 80 percent. This was an impressive number; however we quickly realized that this was due to half of the dataset being non-humans. The machine was able to recognize me and two others, but struggled to label anything else correctly.
For this reason, we decided to take another approach and split the data into humans and non-humans. This way we could train two models - one to recognize whether the image is of a human face or not, and one to recognize who the face belongs to. This yielded much more promising results, with a 90 percent accuracy rating on the human face filter and a 65 percent accuracy on the face classifier. All that was left to do now was to allow the little robot to do something with this information.
I updated the script to greet people as soon as it recognizes them, along with a little personal touch (a smiley face, of course). With that all finished, I would like to introduce you to the newest member of the Dataiku team, the new robo-receptionist!
I now believe that I have managed to use the power of machine learning to eliminate any sadness or stress that someone may be feeling upon entering the office. Having a little robot greet you by name is sure to evaporate all negativity from your mind. After all, who can resist such a cute little face?
If you want to recreate a similar project, check out the GitHub Repo!